An intro to uv
Python veterans will be familiar with pip, poetry, pyenv, conda and a few other tools for managing projects, packages and environments. uv’s goal is to replace them all while being blazingly fast.
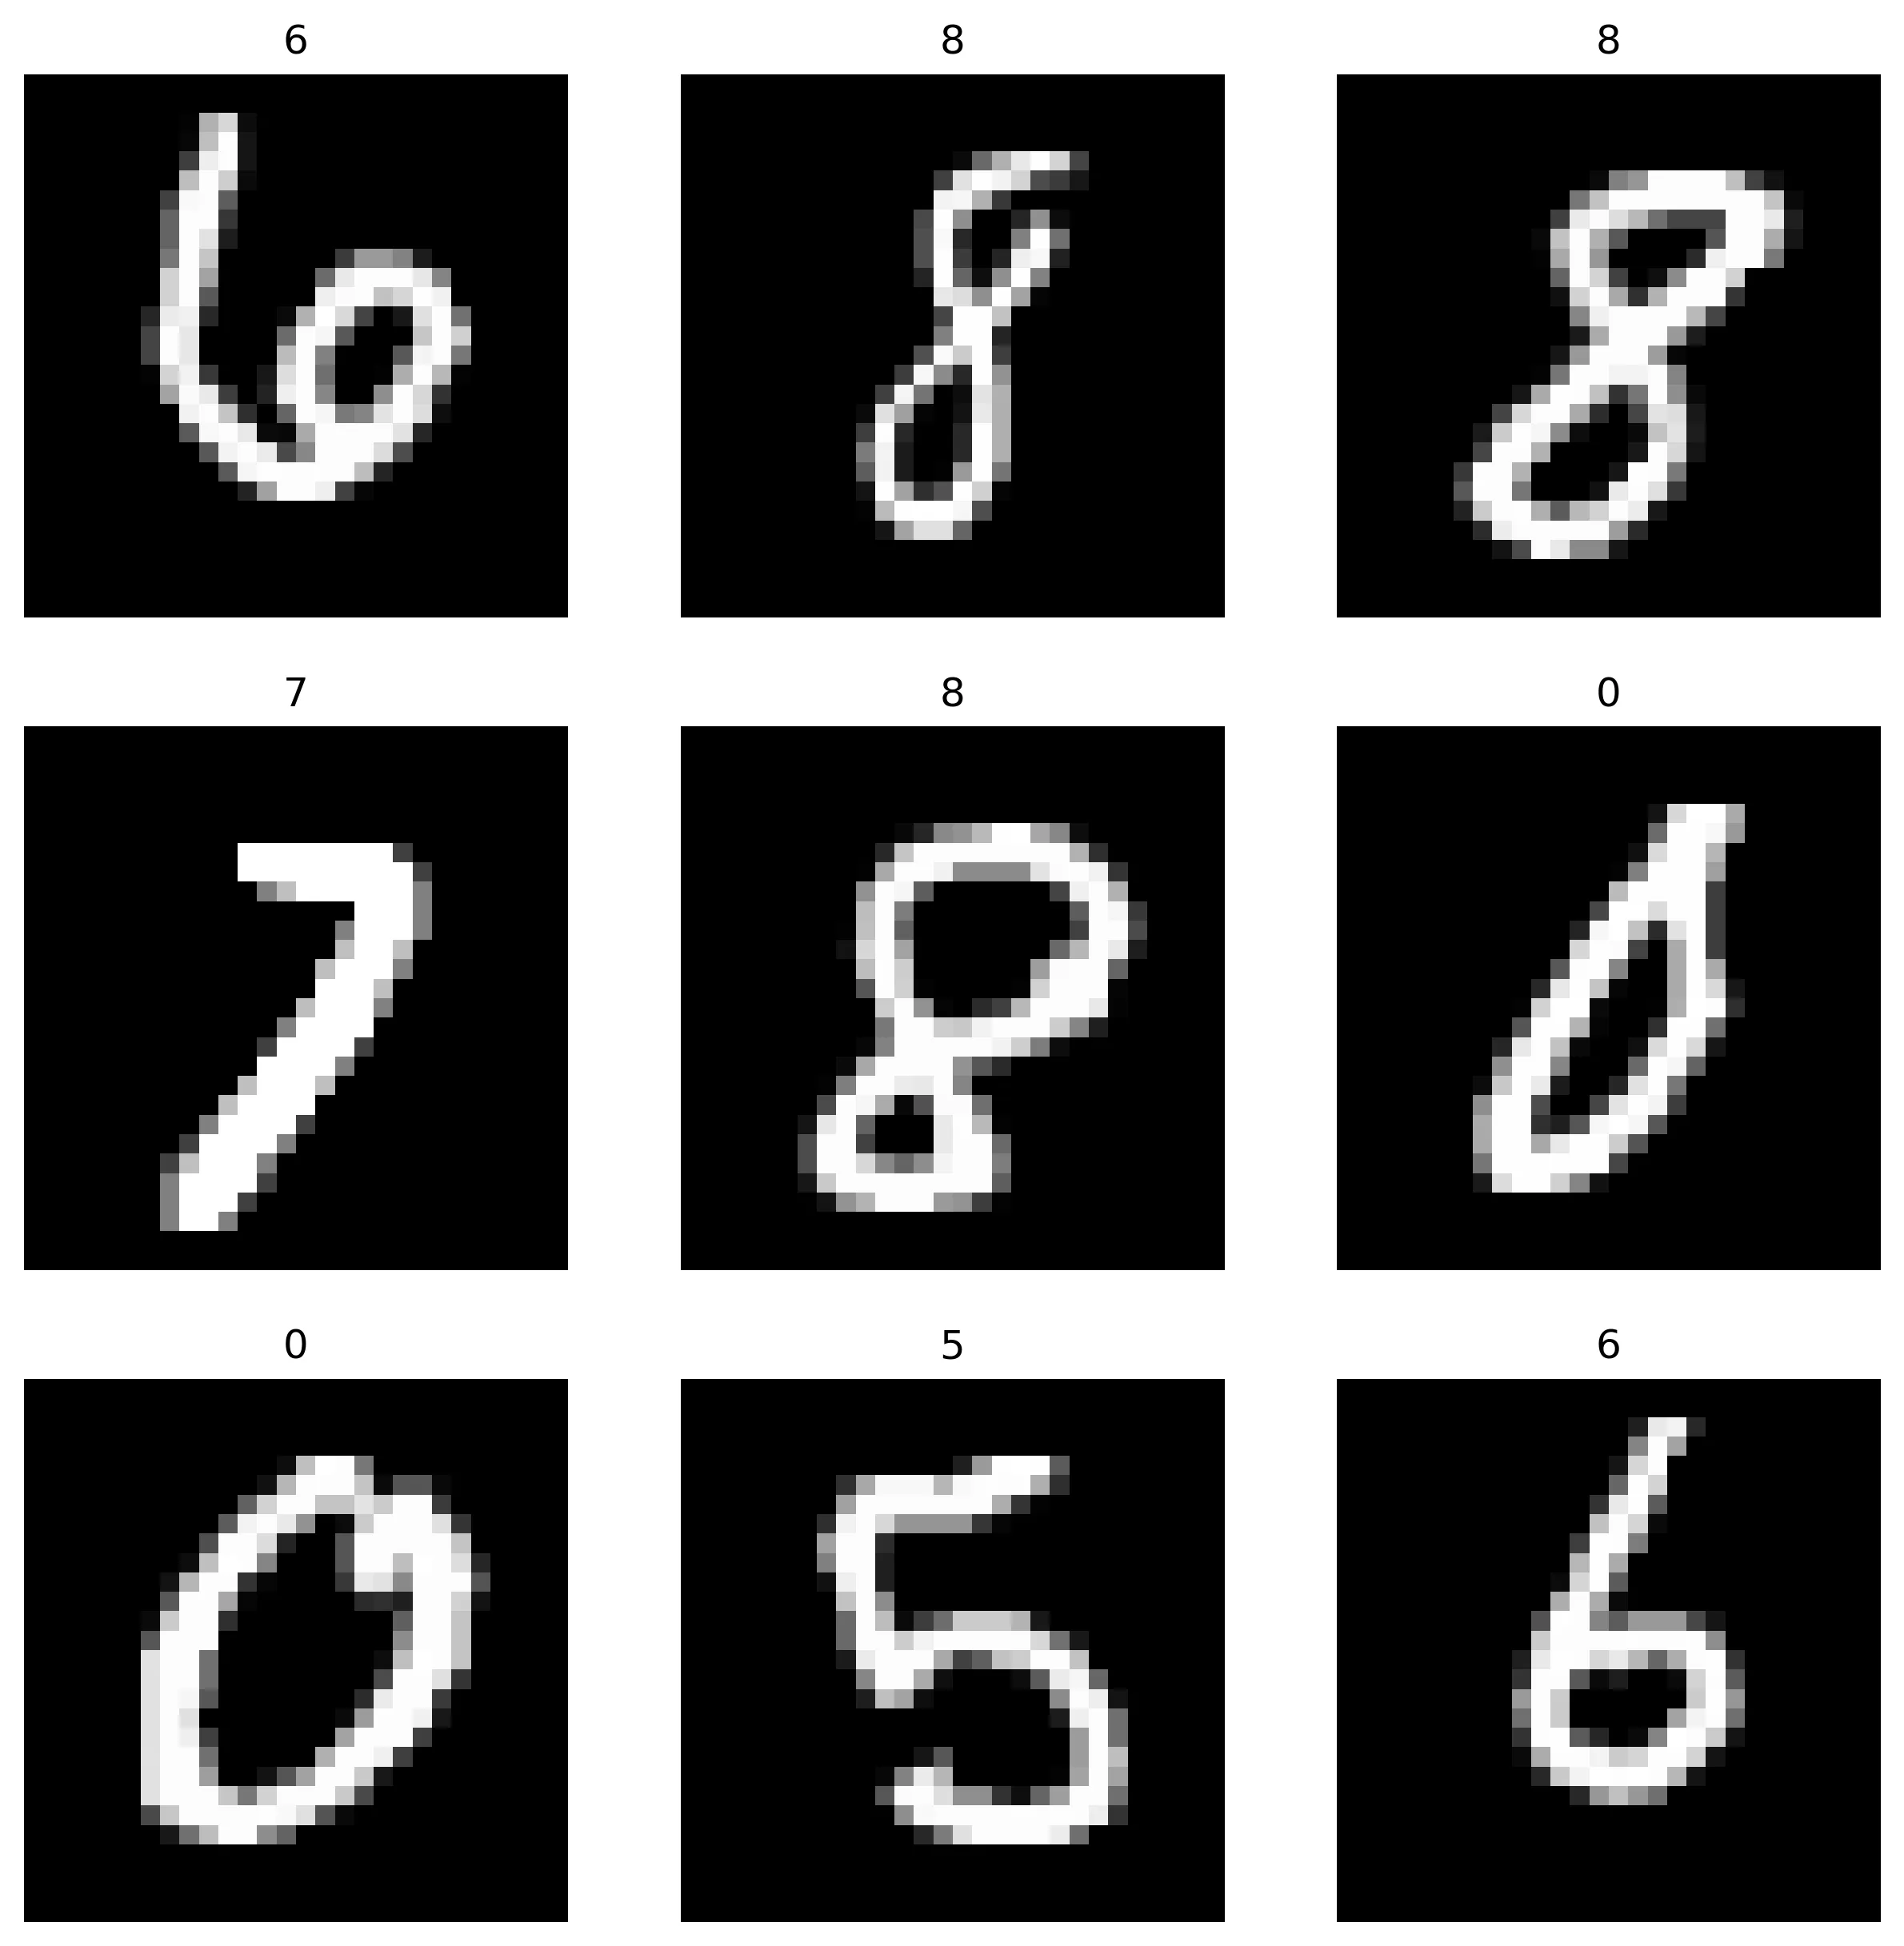
We will use uv for a prototypical machine learning project: train a neural network to classify images of handwritten digits from the MNIST dataset using a convolutional neural network. The input of the model will be a 28x28 pixel image, and the output will be a vector of 10 probabilities, one for each digit. If you are interested in the details of the model, you can check out the code.
My previous workflow relied on conda to handle the project environment. I’d start by creating a new conda environment and installing several packages via slow conda install commands before getting to work. If during model development I needed additional packages, I’d run another conda install hoping to avoid the dreaded Solving environment: failed with initial frozen solve. Retrying with flexible solve. error. Once I’d finish, I’d dump my environment into an environment.yaml, strip-out dev-only dependencies, and hope that the final environment sufficiently resembles the one I worked on. Finally, I’d package the model into a Docker image to get it ready for production.
Clearly, I wasn’t thrilled with my old workflow. Let’s see how uv made it a more pleasant experience.
Why uv?
Before diving into the details, it’s worth justifying why we need yet another tool for managing Python-centric data science projects.
First, uv is fast. As is common in new high-performance tools, it’s written in Rust, a compiled language known for its performance. It also uses different strategies to speed up package installation, like caching and parallelization. Anyone who has installed a package with conda knows that package resolution can be a pretty painful experience.
Second, uv boosts reproducibility. As we will see below, it makes it easy to create and share virtual environments. This is key to ensure that multiple developers can work on a consistent environment. Furthermore, it facilitates moving projects from development to production.
Third, uv leverages common standards within the Python ecosystem. This reduces the risk of being locked into its ecosystem, and makes it easy to collaborate with other developers that use different tools.
Last, uv is one tool, which means that I don’t need to remember the syntax of multiple tools, or how to use them together.
Why not uv?
I’m always quite enthusiastic about the new, shinier tool. But before jumping straight into uv, it’s worth considering the downsides of adopting it.
First, uv is young. In contrast, tools like pip, conda or venv have been around for more than a decade. I have no doubt they will be around for at least another decade and are unlikely to pull the rug from under me with breaking changes.
Second, and on a related note, uv is not widely adopted. This means that I have had a hard time troubleshooting some errors. It has also meant that it’s not a standard, and you might need to be prepared to advocate for it in your team.
Last, uv is mainly developed by Astral, a VC-backed startup that hasn’t started monetizing their products yet. It remains to be seen how their future business model will impact their tools. I should highlight that uv is open-source and licensed under MIT, which is somewhat reassuring.
I believe that it’s a worthwhile trade-off. But, you know, caveat emptor.
Starting a new project
After installing uv, we simply need to run uv init to start a new project:
uv init mnist-classifier
This creates a directory mnist-classifier in the current directory containing a few files we’ll soon dig into. One of them is a pyproject.toml file that stores the project’s metadata and configuration. This is a standard file used by many tools in the Python ecosystem. For instance, pip install . would install all the packages listed under the dependencies field. The pyproject.toml file created by uv looks like this:
[project]
name = "mnist-classifier"
version = "0.1.0"
description = "Add your description here"
readme = "README.md"
requires-python = ">=3.10"
dependencies = []
Furthermore, it will start a git repository with a sensible .gitignore.
What about package projects?
By default, uv init creates an application project. This is appropriate for scripts, like simple tools. This is why the command above created a main.py file, meant to be the entry point of our application. Alternatively, we could create a library project with uv init --package mnist-classifier-pkg. This would create a new directory mnist-classifier-pkg and populate it with a standard structure and configuration suitable for a Python library.
Creating the project environment
Multiple Python projects can co-exist on the same machine, each requiring different packages and versions of the same packages. This is facilitated by virtual environments, self-contained directories with their own Python interpreter and installed Python packages. There are multiple solutions to create and manage virtual environments, like venv, conda or poetry.
uv leverages Python’s built-in package to handle virtual environments: venv. The virtual environment contains its own installation of Python, whose version is specified in .python-version. uv init created this file:
3.10
The virtual environment itself lives in the .venv directory. When Python runs from within an environment, it uses the packages installed in that environment, and only those packages. Typically we would activate this virtual environment from the terminal with source .venv/bin/activate. This will append .venv/bin/ to our PATH, loading the python located there into our environment. However, this comes with an overhead: we need to remember to activate the environment before running any Python script, and we need to deactivate (deactivate) it when we are done. This is a source of errors, as we may forget to activate the environment or, worse, forget to deactivate it.
That’s why uv does not require explicitly activating the environment. Instead, we can use uv run <script>.py to run any Python script or command using the environment’s Python. For instance, uv init created a short, example script, main.py:
def main():
    print("Hello from mnist-classifier!")


if __name__ == "__main__":
    main()
As stated, we can run it using our default Python, as we are used to (python main.py), maybe after source .venv/bin/activate. But we can also run it using uv run main.py, which will run the script using the environment’s Python interpreter. Besides avoiding loading/unloading virtual environments, uv run will automatically create the project environment if it does not exist. Similarly, we can run an interactive Python session via uv run python.
Installing the required packages
Upon its first invocation, uv run main.py creates a virtual environment. To do this, it examines the (empty) dependencies list in pyproject.toml and resolves an (empty) set of packages.
To start our little data science project, we’ll need to install the PyTorch library. Typically I would have run conda install conda-forge::pytorch; in uv we use uv add torch instead. This installs the most recent version of the package that is compatible with our environment (2.7.0). The whole thing took 9 seconds. For comparison, installing torch with conda took 48 seconds. Upon installation, pyproject.toml gets automatically updated to:
dependencies = [
    "torch>=2.7.0",
]
This is great, as it allows us to keep track of the packages that we needed for our project, reducing our overhead down the road as the project matures.
However, torch depends, in turn, on other packages, like numpy. Note that this is not reflected in pyproject.toml, which lists only our direct dependencies, not every transitive package. Furthermore, as we install additional packages like torchvision or matplotlib, uv will need to resolve all the dependencies and potential conflicts between the packages. uv keeps an additional file, the lockfile (uv.lock) that records the exact state of the environment with all the specific package resolutions. The lockfile is thus considerably more thorough than pyproject.toml. For instance, after uv add torch it expanded to 353 lines describing all the specific packages, their versions and the metadata that were installed in the environment. This is a small excerpt of the lockfile:
[[package]]
name = "filelock"
version = "3.18.0"
source = { registry = "https://pypi.org/simple" }
sdist = { url = "https://files.pythonhosted.org/packages/0a/10/c23352565a6544bdc5353e0b15fc1c563352101f30e24bf500207a54df9a/filelock-3.18.0.tar.gz", hash = "sha256:adbc88eabb99d2fec8c9c1b229b171f18afa655400173ddc653d5d01501fb9f2", size = 18075 }
wheels = [
    { url = "https://files.pythonhosted.org/packages/4d/36/2a115987e2d8c300a974597416d9de88f2444426de9571f4b59b2cca3acc/filelock-3.18.0-py3-none-any.whl", hash = "sha256:c401f4f8377c4464e6db25fff06205fd89bdd83b65eb0488ed1b160f780e21de", size = 16215 },
]
uv.lock should be under git control, providing the exact recipe to replicate an environment. This is key, for instance, to ensure that all developers work on a consistent environment. It can also facilitate moving our code to production, as we’ll see below.
If needed,
uv.lockcan be exported into arequirements.txtfile for legacy tools, viauv export --format=requirements-txt >requirements.txt.
Other package management commands
Besides uv add, there are other commands that can be used to manage packages. For starters, its counterpart uv remove <package_name> will uninstall <package_name>. Another command that can trigger package management is uv run <script>.py. Before running the script, it will ensure that the lockfile is in sync with pyproject.toml and then ensure that the project environment is in sync with the lockfile.
Syncing refers to (un)installing packages in the project environment to match the lockfile. uv run will do this automatically, as we just saw. But it can also be forced manually with uv sync.
Last, when adding new packages, uv will tend to be conservative. It will install the most recent version of the package that is compatible with the current environment. To force a specific version, we can use uv add <package_name>==<version>. For instance, uv add torch==2.0.1 will install version 2.0.1 of torch, even if a newer version is available. We can request uv to upgrade all packages if possible with uv lock --upgrade; or a specific package with uv lock --upgrade-package <package_name>.
To keep compatibility with
pipworkflows,uvalso supportsuv pip install <package_name>anduv pip uninstall <package_name>. These will (un)install the package in the current environment, but it will not updatepyproject.tomloruv.lock. For this reason, they should be avoided in favor ofuv addanduv remove.
Installing development-only dependencies
As a data scientist, Jupyter notebooks are my bread and butter. In order to run Jupyter notebooks on our uv environment, we need to install the IPython kernel ipykernel. However, ipykernel’s role is different from other packages: it is not a dependency of our code, but a tool needed for development. Once my code is ready, I will distribute it as a standalone Python script that has no dependencies on ipykernel. The same principle applies to tools like pytest, used to test your code, but which the end-user shouldn’t require unless they intend to contribute to the project.
uv allows you to add development dependencies with uv add --dev ipykernel, which will add the following to pyproject.toml:
[dependency-groups]
dev = [
    "ipykernel>=6.29.5",
]
This should allow my tool of choice, Visual Studio Code, to find this virtual environment and run Jupyter notebooks on it. However, in my experience, it has been somewhat unreliable: Visual Studio Code only finds the kernel half of the time. A workaround is launching a JupyterLab server instance with uv run --with jupyter jupyter lab and connecting to it from the editor.
(Training &) Shipping the model
Here comes the actual data science, which I will just skim over. I wrote a simple script to train a convolutional neural network on the MNIST dataset. The script is located in train.py, and can be run with uv run train.py. It achieves a 98% classification accuracy on the held-out samples. Neat!
Now that we have a working model, let’s see how uv helps us package the model into a Docker image.
First, we need to pick our base image. Astral provides multiple pre-built images that include uv and different versions of Python. Then, deploying the model is as easy as copying the model weights and the prediction script predict.py into the image, copying uv project environment files, and building the environment:
FROM ghcr.io/astral-sh/uv:python3.10-bookworm-slim

RUN mkdir -p /mnist_classifier/data
WORKDIR /mnist_classifier

# ensure uv.lock isn't modified
ENV UV_LOCKED=1

# copy the minimum required files:
## the uv files needed to recreate the environment
COPY pyproject.toml uv.lock ./
## the prediction script
COPY predict.py .
## the model weights
COPY data/mnist_cnn.pt data/

# recreate the environment
RUN uv sync --no-dev

CMD ["uv", "run", "predict.py"]
The key command here was uv sync, which will recreate the environment using the exact versions of the packages specified in uv.lock. This ensures that the environment used to train the model is identical to the one used to share it. Notice that the --no-dev flag will exclude the packages used for development, like ipykernel. It’s worth highlighting that the lockfile is cross-platform: I generated it on macOS, but the Docker image is based on Debian.
Note: If you use GPU-specific packages, wheels may differ. See Astral’s docs.
Let’s now build and run the image:
docker build -t mnist_classifier .
docker run mnist_classifier
SimpleCNN(
  (conv1): Conv2d(1, 32, kernel_size=(3, 3), stride=(1, 1))
  (conv2): Conv2d(32, 64, kernel_size=(3, 3), stride=(1, 1))
  (fc1): Linear(in_features=1600, out_features=128, bias=True)
  (fc2): Linear(in_features=128, out_features=10, bias=True)
)
Downloading MNIST test set...
Accuracy of SimpleCNN on the 10,000 test images: 98 %
Nice!
Conclusions
We have seen how uv can be used to manage Python projects, packages and environments. It satisfies my craving for reproducibility, is snappy and has simplified repetitive workflows. I look forward to seeing how it keeps evolving.